This feature allow you to save frequently used shifts with designated time slots, eliminating the need to manually enter shift hours each time.
How to create saved shifts
- On your sidebar, go to Shifts
- Click on the settings, in the upper right corner
- Select Shifts settings
- Make sure you are in the Saved shifts tab
- Click on Save a new shift
- Add a Shift name, start time, end time and assign a color label
- Add the Location info: select the workplace and the work area for this saved shift. If needed, you can leave comments.
- Click on Submit

The color label assigned to saved shifts corresponds to the color in which they will be displayed. By utilizing various colors, shifts are visually displayed, providing immediate recognition of the assigned time slots. This visual representation enhances clarity and facilitates quick understanding of the schedule.
- By clicking on See color code (located below the shifts table), a useful legend will appear that will assist you in better distinguishing between shifts.

By clicking on the three dots icon next to the saved shift, you can edit or delete it.

How to assign saved shifts
- On your sidebar, go to Shifts
- Click on +
- Choose Add shifts
- Select the employees
- Define the period
- Select a Saved shift
- You can:
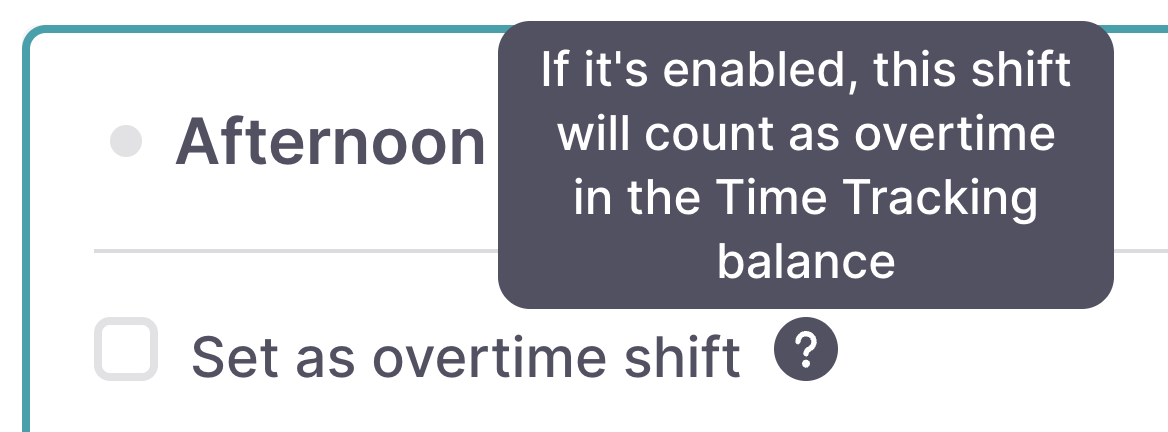
- Set it as overtime shift: if it's enabled, the shift will count as overtime in the time tracking balance
- Edit Workplace, Work area and Add comments
- Click on Add
.gif)
Keep in mind:
- For a better planning, add to shifts the workspace, the work area, and eventual comments.
- If the shift is an overtime shift, just flag the option Set as overtime shift and the shift will count as overtime in the Time tracking balance.

Remember to publish the schedule in order to make it visible to employees.
